I've been fiddling with this square off and on for about six
months now. It's had a few different looks, the final one is version FIVE! LOL.
Then, once I had the design to my liking, the next struggle was naming it. For those of you who don't know me, I have the gift of the gab - I can talk the hind leg off a mule - and I write the same way. So, naming stuff is usually not an issue for me. I love alliteration and I love puns, but for this square, finding an original name was just not working for me. So I asked in my group for some help.
Compass Square? Cross Hairs? Dianthus flower? Compass Rose? Guiding Light? They're all good names, but nothing was really punching it for me. So, I did a bit of research on compass roses - do you have any idea how many different kinds of images there are for them? Or how beautiful they can be? Here's a small sample of my search hits:

Aren't they just beautiful?
Now, as I searched and scrolled and gathered inspiration, I
kept getting images from the movie "The Golden Compass". I've read
the books many years ago and liked them, although I've not seen the movie, but
the name started ringing in my head. Originally I started working this square
in purples and blues, but I knew that if I was going to name it the golden compass,
then I needed to switch colourway. So, here are versions one to four of the
square for you to have a laugh at, lol, but also hopefully for you to get
inspiration. Designing isn't always a light-bulb or lightning strike moment.
Often it involves swearing, frogging, cursing, throwing things across the room
and lots of general grumbling - having said that, I love it. ;) You are only
limited by your imagination, and you alone know how wonderful it is. <3
 |
| Version 1 |
 |
| Version 3 |
 |
| Version 2 |
 |
| Version 4 |
One final thing before we start hooking together - the four
main compass points (North, South, East, West) are known as the Cardinal
Directions. This was ALMOST the name of the square - my husband is a priest in
the Anglican Church, so it really tickled my funny bone. So, without further
ado, here's what you need and how to make it. <3
Golden Compass Square
This pattern is worked in USA terms. I used a 4mm hook and 8
ply yarn to achieve a six inch square.
Special Stitches:
Treble stitch (TR): Yarn over hook (YOH) twice, insert
into fabric, draw up one loop, YOH once, draw through the first two loops, YOH
once, draw through next two loops, YOH once, draw through final two loops
Back Post Single Crochet (BPSC): watch this excellent tutorial
https://www.youtube.com/watch?v=RcbTd4mQ5_k
Back Post Single Crochet (BPSC): watch this excellent tutorial
https://www.youtube.com/watch?v=RcbTd4mQ5_k
Front Post Treble (FPTR): Make a treble stitch inserting the hook into the fabric the opposite way you would for a BPSC. Check out this tutorial
http://crochetparfait.blogspot.com.au/p/fptr-front-post-triple-or-treble-crochet.html
I also have a mini photo tutorial in the pattern. <3
Spike stitch: A spike stitch is a stitch worked into a round prior to the one that you would ordinarily work in. For example, in round six you work a SC spike down into round four in the corners.
Spike stitch: A spike stitch is a stitch worked into a round prior to the one that you would ordinarily work in. For example, in round six you work a SC spike down into round four in the corners.
Pattern Details:
Starting and finishing your rounds:
I start each round with a standing stitch, having tied off EVERY round. The following tutorials are for standing DC, but the same principal applies to other stitches.You can read a very good tutorial here:
http://www.petalstopicots.com/2013/10/crochet-standing-stitches/
Or watch a great video here:
https://www.youtube.com/watch?v=_RV9f9qvvgA
I tie off each round and cut the yarn, even when the next round is in the same colour. I use the invisible join, you can watch a tutorial here:
http://newstitchaday.com/how-to-crochet-the-invisible-join-in-the-round/
https://www.youtube.com/watch?v=_RV9f9qvvgA
I tie off each round and cut the yarn, even when the next round is in the same colour. I use the invisible join, you can watch a tutorial here:
http://newstitchaday.com/how-to-crochet-the-invisible-join-in-the-round/
If your square turns out to be a different size:
I worked this pattern using a 4mm hook and 8ply yarn to
achieve a six inch square. You may alter hook and yarn accordingly to your
wishes, however, your square may be a different size. Everyone hooks
differently, measure your work as you go and if necessary add or leave off
rounds. You can find a great tutorial on sizing your square here
http://www.mooglyblog.com/make-work-getting-afghan-squares-size-need/
http://www.mooglyblog.com/make-work-getting-afghan-squares-size-need/
When do I change colours?:
I have made two variations of the square, one using three colours, one using four. You can change colours wherever you wish, but if you want to achieve either of the looks I have created, for the gold, red and blue version, R1: colour A, R2: colour B, R3: colour A, R4 & 5: colour B, R6: colour C, R7: colour B, R8: colour A, R9: colour B.For the 4 colour purple and blue version: R1: colour A, R2: colour B, R3: colour C, R4 & 5: colour B, R6: colour D, R7: colour B, R8: colour D, R9: colour B.
Pattern:
ch4, slip stitch to join
R1: ch4 (counts as treble - this is US treble, not UK -
yoh twice), make 15 more trebles (16)
R2: Working BETWEEN the stitches of round 1, *2dc, ch1*
in each space around – (48)

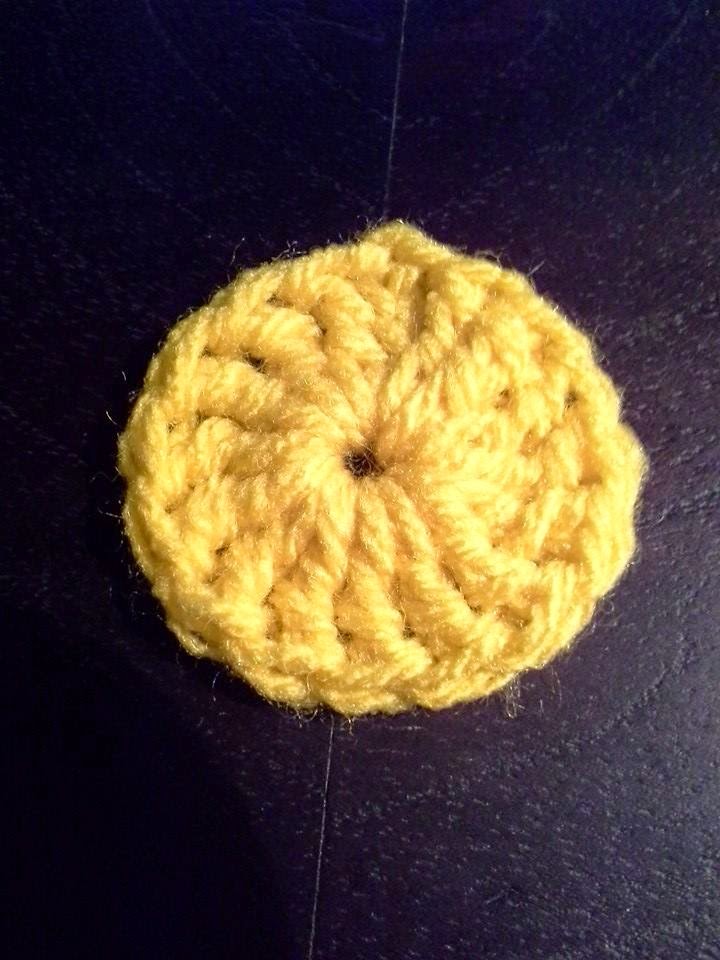
R3: Start in any DC to the left of a ch1 sp. This row
consists of SC in each DC and each chain 1 space – EXCEPT – every 12th stitch
is a Front Post Treble around a Treble from round one. See photographs below.
(48)
 |
| Starting the FPTR |
 |
| YOH Twice |
 |
| Pass the hook behind the TR |
 |
| Draw up your first loop |
 |
| YOH & draw through first two loops |
 |
| YOH & draw through second two loops |
Almost done!
 |
| Round 3 Finished |
 |
| YOH & draw through final two loops |
R4: Starting 2 stitches before a FPTR in R3: back post
SC in each stitch around – (48)

R5: Start 2 stitches before the FPTR in round 3, SC6, HDC1,
DC1, *(DC, 1 TR, ch1, 1 TR DC - this is the corner, so all in one stitch), DC
in next stitch, HDC, SC7, HDC, DC* - repeat twice, then (DC, TR, ch1, TR, DC),
SC1.

R6: Start above a FPTR from round 3, 8SC, then (1SC into ch space
between 2 trebles from row 5, ch1, then spike stitch SC down to row 4, ch1,
then SC in ch space between the 2 trebles from row five again), then starting
in the next treble, work 15SC. Repeat twice more and make one more corner
followed by 7SC. (68SC, 4 spike SC, 8 ch1 Spaces).

R7: Back post DC around - corners are back post around the SC
in the corner space, DC in the one chain space, chain 2, DC in the one chain
space back post DC along the next side. (76DC, 4 ch2 spaces).

R8: HDC around. Corners are 2HDC, ch2, 2HDC into the
chain space of round 7. (92 HDC, 4 ch2 spaces)

R9: BPHDC around - Corners are HDC, ch2, HDC in the
chain space of round 8. (100 HDC, 4 ch2 spaces).


